D-Line Cable Tidy Shelf
Stand for Smart Phones, Tablets, Smart Speakers, iPads, Wi-Fi Routers & more!
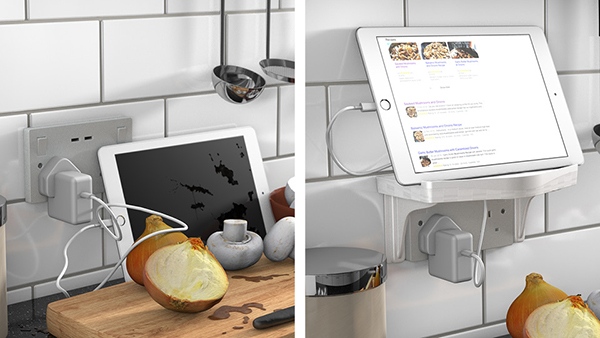
NEW D-Line Cable Tidy Shelf is a multipurpose solution for keeping charger cables & small electronic devices where you need them… while eliminating cable clutter & regaining desk or worktop space!Features
- Integrated Cable Hider compartment
- Made in UK from high quality electrically-safe ABS plastic
- Design blends with modern décor
- Two installation methods; self-adhesive peel & stick or drill & screw-fix
- Self-adhesive can safely hold devices up to 2.5kg/5lbs. Screw-fix option can hold up to 5kg/10lbs
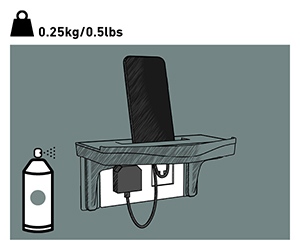
- Can be spray painted
- Available in White, Black or Grey
Why use Cable Tidy Shelves?
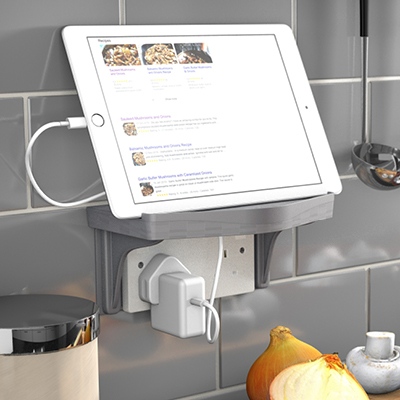
Keep appliances off worktops to avoid spill damage.
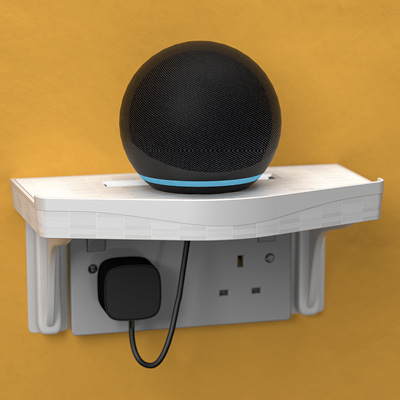
Improve appearance – with stylish design blending with modern décor.
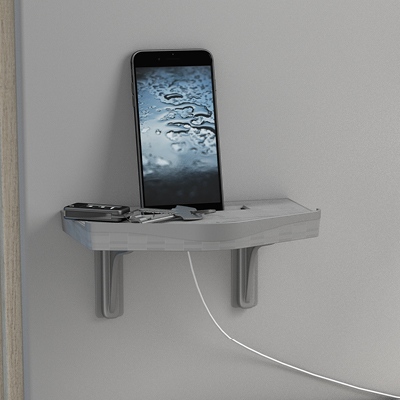
Use as a charging hub for smart devices, keeping your charger where you need it!
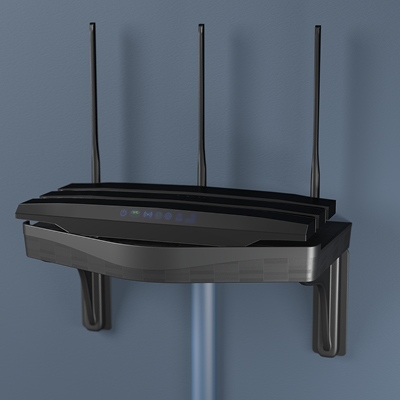
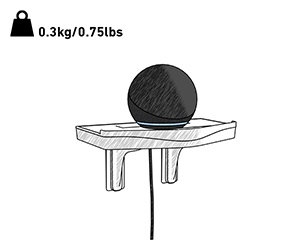
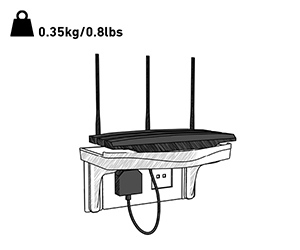
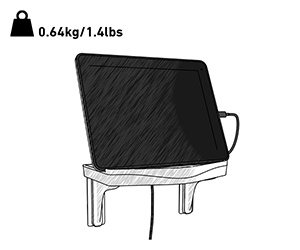
Designed to be used for a variety of appliances.
How to install
Like all D-Line products, Cable Tidy Shelves have been designed “easy-to-use, looks great!”
Please consult easy fitting guide before installing.Self-Adhesive Tape Installation Steps
If using self-adhesive tape (3M, reference RP45) ensure surface is smooth and dry. Adhesive Tape can hold appliances <2.5kg/5lbs.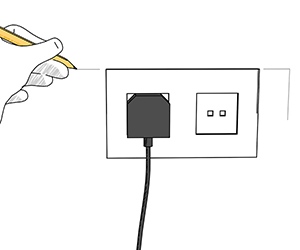
Step 1 - Pencil mark where wall plates will be placed.
Wall plates must never be more than 6” or 155mm apart.
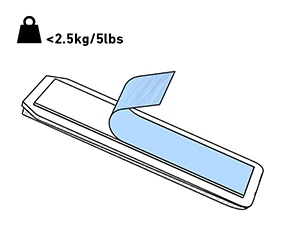
Step 2 - Remove adhesive liner.
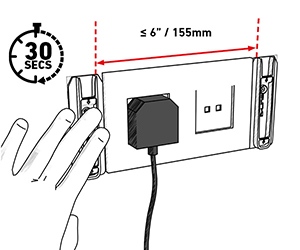
Step 3 - Ensure surface is smooth and dry, then carefully place side arms where pencil mark has been made… press for 30 seconds for tape to form strongest bond.
Waiting 24 hours before using the Cable Organizer Shelf allows the tapes to form the strongest bond; for maximum load bearing and long-term performance.
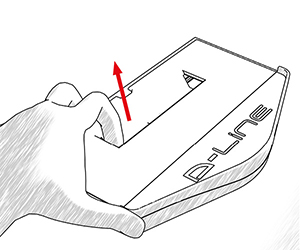
Step 4 - Remove lid from shelf base.
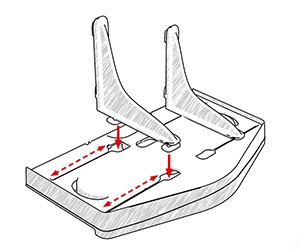
Step 5 - Attach side arms to underside & slide to match spacing of wall plates.
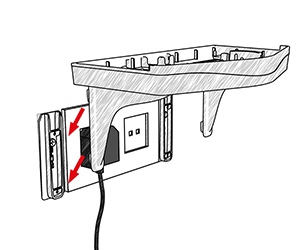
Step 6 - Attach side arms to wall plates.
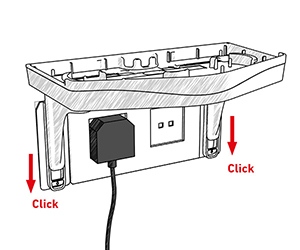
Step 7 - slide shelf down wall plates until ‘click’ has been made.
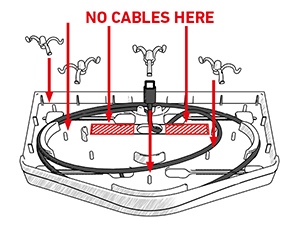
Step 8 - Route cables through base of lid, utilising supplied cable management hooks to shorten
cable to required length.
cable to required length.
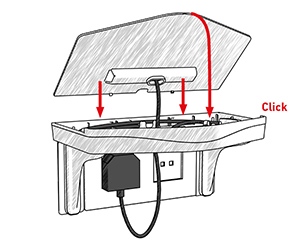
Step 9 - Apply shelf lid.
Drill & Screw-Fix Installation Steps
Advised for installations on wallpaper. If screw-fixing, ALWAYS USE A DETECTOR INSTRUMENT to check there are no cables (or pipes) directly behind the surface Pic 2.If in doubt consult a qualified tradesperson. Screws & wall plugs supplied per pack.
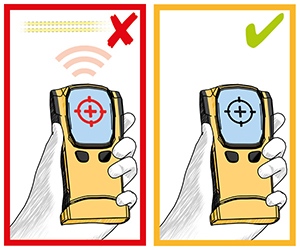
Step 1 - ALWAYS USE A DETECTOR INSTRUMENT
to check there are no cables (or pipes) directly behind the surface. Only proceed with installation on surfaces where detector does not show cables behind the surface. If in doubt consult a qualified tradesperson.
to check there are no cables (or pipes) directly behind the surface. Only proceed with installation on surfaces where detector does not show cables behind the surface. If in doubt consult a qualified tradesperson.
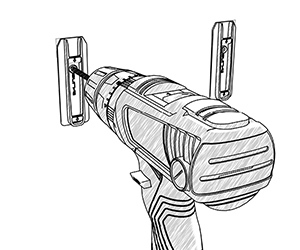
Step 2 - Pencil mark where wall plates will be placed & drill through hole in wall plates to create a pilot hole.
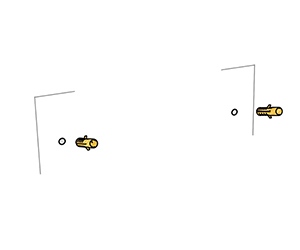
Step 3 - Place supplied wall plugs into pilot hole.
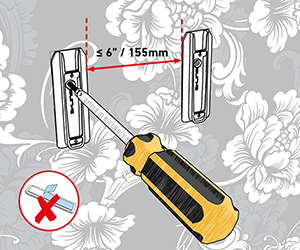
Step 4 - Align wall plates with pilot hole & tighten supplied screws to secure wall plates to surface.
Screw-fixings & wall plugs (supplied) are recommended to secure Cable Organizer Shelf
on wallpaper (load bearings on adhesive tape can
cause a wallpaper’s surface layer to rip from
base layer) – do not remove adhesive liner.
on wallpaper (load bearings on adhesive tape can
cause a wallpaper’s surface layer to rip from
base layer) – do not remove adhesive liner.

Step 5 - Remove lid from shelf base

Step 6 - Attach side arms to underside & slide to match spacing of wall plates.

Step 7 - Attach side arms to wall plates.

Step 8 - Slide shelf down wall plates until ‘click’ has been made.

Step 9 - Route cables through base of lid, utilising supplied cable management hooks to shorten cable to required length.

Step 10 - Apply shelf lid.
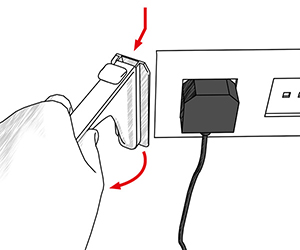
Tape removal requires effort & care.
- Remove the shelf section, then reattach the side
arms to the wall plates; ensuring they “click” secure. - Slowly apply downwards and sideways pressure
to the side arm, until the tape peels from the wall. - The side arm and wall plates should slowly detach
at an angle.
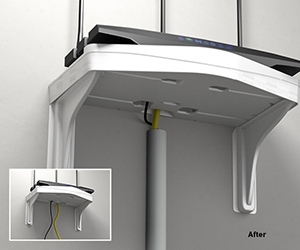
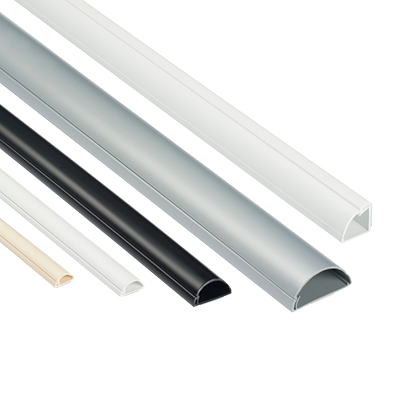
Any unsightly cables running up the wall can be neatly contained in D-Line cable trunking, available separately.
