TRUNKINGS THAT STICK AROUND,
FOR AS LONG AS YOU LIKE

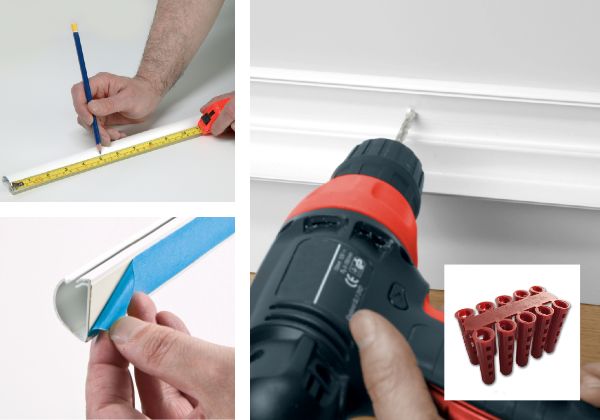
So you’ve pencil marked the layout of exactly where you want your D-Line cable hider,
cut the lengths to size with a fine saw-blade, and considered gaps for any corners or bend accessories to be inserted…
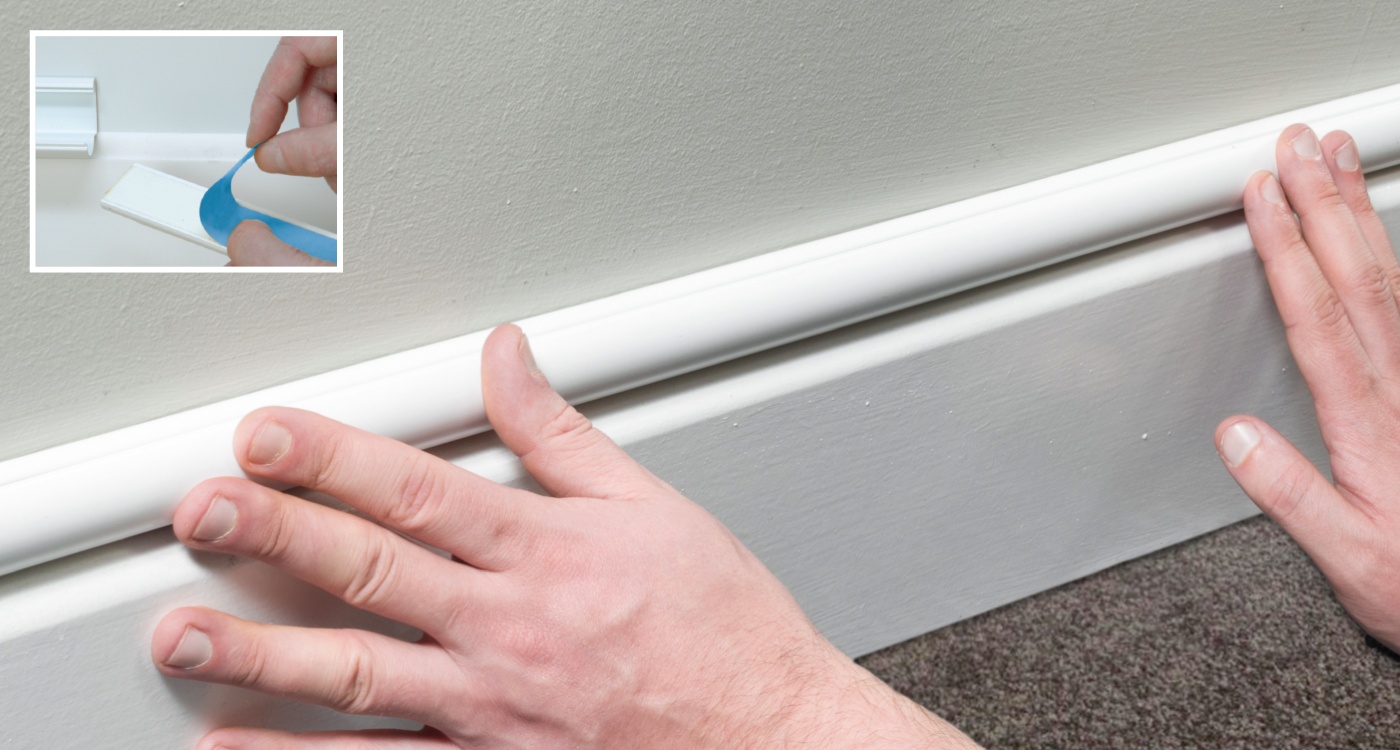
Now with the hinge at its base and click-lock at topside, one easy way to affix D-Line trunking is to gently peel the liner at one end from its backing tape, hold up the trunking length(s), and apply finger pressure to stick the first inches up to the pencil mark.
Then slowly move along the length(s); peeling, pressing and firmly sticking the D-Line trunkings as as you go. Finally insert the cables, and attach any accessories. Job done!
Assuming the surface was clean and level flat, not dusty and uneven or textured, then at normal room temperatures you’ll have created a bond that should last for years.
Alternatively, D-Line trunking can be drilled and screw-fixed, with the choice of fixing being dependent on the type of surface.
A plasterboard wall should use wall plugs, so the screw attaches through the trunking drill-hole into the wall plug. Screws (& wall plugs) in the trunking should be spaced no more than one metre apart.
PVC trunking mounted on brick or wood can be installed by drilling a pilot hole into the solid substrate, then tighten the screw through the base of the trunking length.
Thinking ahead, if you need to remove the raceway, drill holes can simply be filled with fillers or putty’s then made smooth flush by using a knife and sandpaper! For various ways to eliminate any tape residue, see Top Tips below.
There is no right or wrong way, and really the question of whether to stick or drill trunking has ready made answers that shouldn't leave you stuck when deciding your best way!


